
I kept the books for a freight company for twenty years and picked up a pencil at 44, the fall my daughter left for college. No art school, no classes, no art history, no talent to speak of. Most of what I know about how to draw I learned in forty-minute sessions at the kitchen table after dinner, and I still draw at that table most nights. Claiming that the ability to draw is a natural talent undermines the learning process, and I’m proof. Drawing is a skill, like bookkeeping, and skills respond to practice. You can learn informally, without a formal background, on cheap paper, in small rooms, after long days. If you can hold a pencil, you can draw. If you still doubt that talent is required, my piece on whether talent really matters covers the question in more detail.
If you are 25 or 35 or 55 and wondering whether you can learn how to draw, the short answer is yes. Improving your drawing skills takes time and cannot be rushed, but with 30 to 60 minutes a day, most adult beginners see noticeable improvement in 3 to 6 months. A study at Auburn University tracked undergraduates through a 16-week observational drawing course and measured improvements of 11 to 28 percent in perceptual tasks like judging light sources and line variation. For a more honest timeline: reaching basic competence typically takes 500 to 1,000 hours of deliberate practice. At one hour a day, that is roughly one and a half to three years. I go into more detail on how long it takes to learn to draw in a separate piece.
This article covers the path I wish someone had handed me: basic forms, lines, simple shading, a sustainable routine, and how to pick tutorials that suit beginners and that you can actually learn from. The focus is realistic practice, not perfection or going pro. I hope it saves you a few of the detours I took, and gives you something to draw by Friday.
Step 1: Set a Simple, Adult-Friendly Goal for When You Draw
A goal like “get good at art” does nothing when you have thirty free minutes and a tired brain. You need something you can check off.
-
“Draw one small object from life every weekday until 31 December 2026.”
-
“Fill one sketchbook by August.”
-
“Draw 50 small still lifes.”
-
“Complete 10 beginner tutorials by the end of next month.”
A goal should fit around work and family. My own habit is to draw for forty minutes at the kitchen table after dinner, three or four evenings a week, and I started with less. Fifteen-minute sessions after dinner beat a four-hour Saturday that never happens. Make the goal small enough to be fun. Treat each session as a short lesson you give yourself, and you will learn something every time.
Track your progress by dating all your drawings. I write the date on each page and note one thing that went okay. There is always one. Three months from now you will flip back and wonder how you ever managed to draw that badly. That is the point.
Step 2: Gather Only the Essential Tools to Draw With
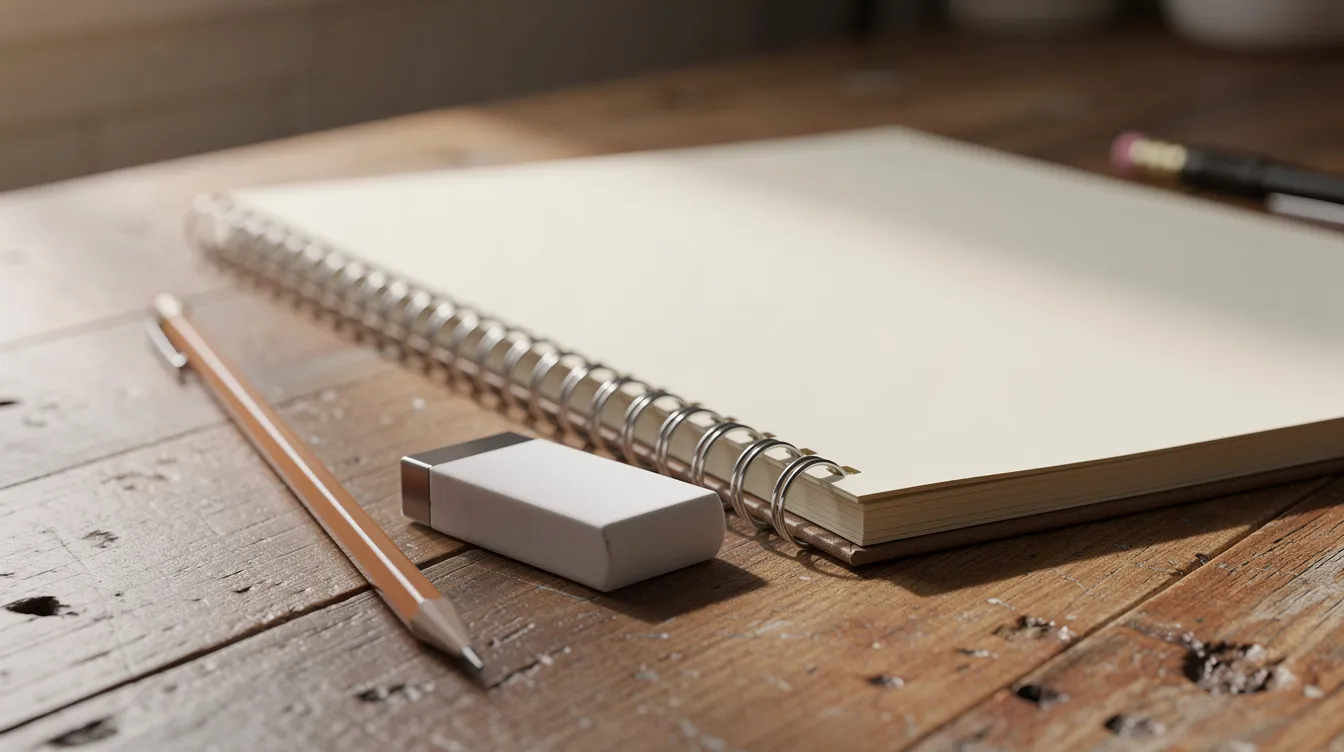
Start with basic tools and you avoid decision fatigue when you sit down to draw. Here is what you need for the first month:
-
An inexpensive A5 or A4 sketchbook (spiral binding helps it lie flat)
-
HB and 2B pencils
-
A kneaded eraser
-
A simple sharpener
Start with a ream of copy paper and #2 pencils if you want to spend even less. My first pad was the cheapest drugstore one on the shelf. Most beginners buy too much, and I was no exception: I spent a few weeks wandering the art store aisle because gear is a pleasant way to avoid the blank page. The tools were never the hard part.
Starting simple keeps the focus on line, proportion, and shading. More pencils just mean more decisions. If you still draw in three months, you will know what to upgrade, and better tools can wait until then. A small, portable kit also lets you sketch during lunch breaks or on a commute. These simple tools are enough to learn on.
Step 3: Learn How to Draw Basic Forms by Seeing Shapes
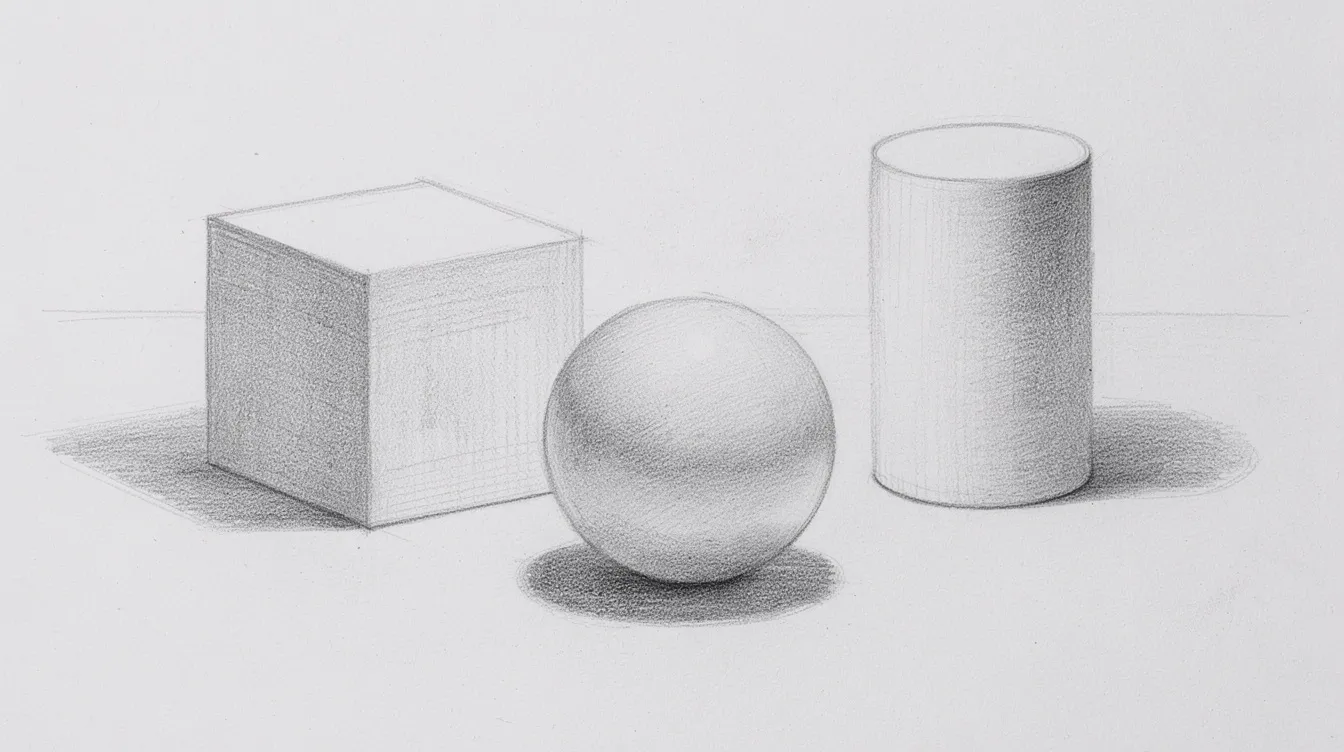
Learning to draw involves breaking a subject into simpler forms. Almost every object you will ever draw is built from four shapes: sphere, cube, cylinder, cone. A mug is a cylinder. A book is a box. A lamp is a cone sitting on a cylinder. Learn to break objects into simple shapes before you draw them, and you skip months of frustration.
A great exercise for your first week: draw 10 boxes, 10 cylinders, and 10 spheres each day, varying size and angle. Build each object from its basic shapes before adding any detail. This connects directly to later skills. Perspective helps create a 3D effect in drawings, and it starts here, with boxes that sit on a surface and cylinders that recede. Every form you draw is a stack of these shapes, from animals to buildings to the stuff on your desk. When you finally draw from imagination, the same shapes will be waiting underneath.
I wish I had stayed here longer before touching anything harder. Most beginners rush past this step, as I did. It was the most useful lesson of my first year.
Step 4: Practice Confident Lines Instead of Perfect Lines
Beginners sketch with tiny, scratchy lines out of fear. I did, and it took me weeks to learn to loosen my grip. These exercises look boring, and they work.
Spend 5 to 10 minutes on warmups before you draw anything real: pages of straight lines across the paper, circles, and ellipses that you draw from the shoulder rather than the wrist. They do not need to look like anything. The goal is control and relaxation, because relaxation can enhance creativity. Use light pressure when you draw so corrections are easy, and move your whole arm.
Avoid overusing the eraser. Redraw lines beside the old ones to build confidence and muscle memory. I start every session by filling a corner of the page and refusing to judge it. That small lesson changed how I work: a wobbly line is information, not a failure. Line control is a skill that comes from mileage, not talent.
Turn it into a challenge: fill a page with ellipses and see how many look smooth. It is more fun than it sounds. Gesture drawing is a technique that improves accuracy and speed, so try timed 30-second sketches of objects around you once you have a bit of line control and want to draw faster.
Step 5: Learn Simple Proportions Without Math
Proportion is the relationship of sizes and distances: the height versus width of a phone, the handle of a mug relative to its body. Four methods help you draw proportions more accurately: sighting with a pencil, comparing negative space, checking angles, and measuring one part against another. Seeing proportion is a skill you can practice, not a gift.
The easiest to start with is measuring with your pencil. Extend your arm, close one eye, place your thumb on the pencil to mark the height of an object, then compare that length to the object’s width. That is the idea: catch the mistake before it sets in. Measuring this way is a form of checking your own work.
A good drill: draw one object per day (a shoe, spoon, or plant), first guessing proportions, then checking and correcting. Learn to see and fix mistakes, because that matters more than getting it right the first time. As a bookkeeper, I liked that checking and correcting felt like reconciling an account, and it was a lesson I already knew from the ledger: if it does not tie out, find the error. Thinking like an auditor helps here. The figure on paper should match the figure in front of you.
Step 6: Introduce Basic Shading Techniques and Value
Value is basically how light or dark something is, independent of color. It is what makes a flat circle you draw look like a sphere and a rectangle look like a box. Shading techniques can create realistic textures in drawings once you learn the basics.
Three techniques to start with:
-
Hatching: parallel lines, closer together for darker areas
-
Cross-hatching: layered sets of lines at different angles
-
Smooth shading: gradual blending with the side of the pencil
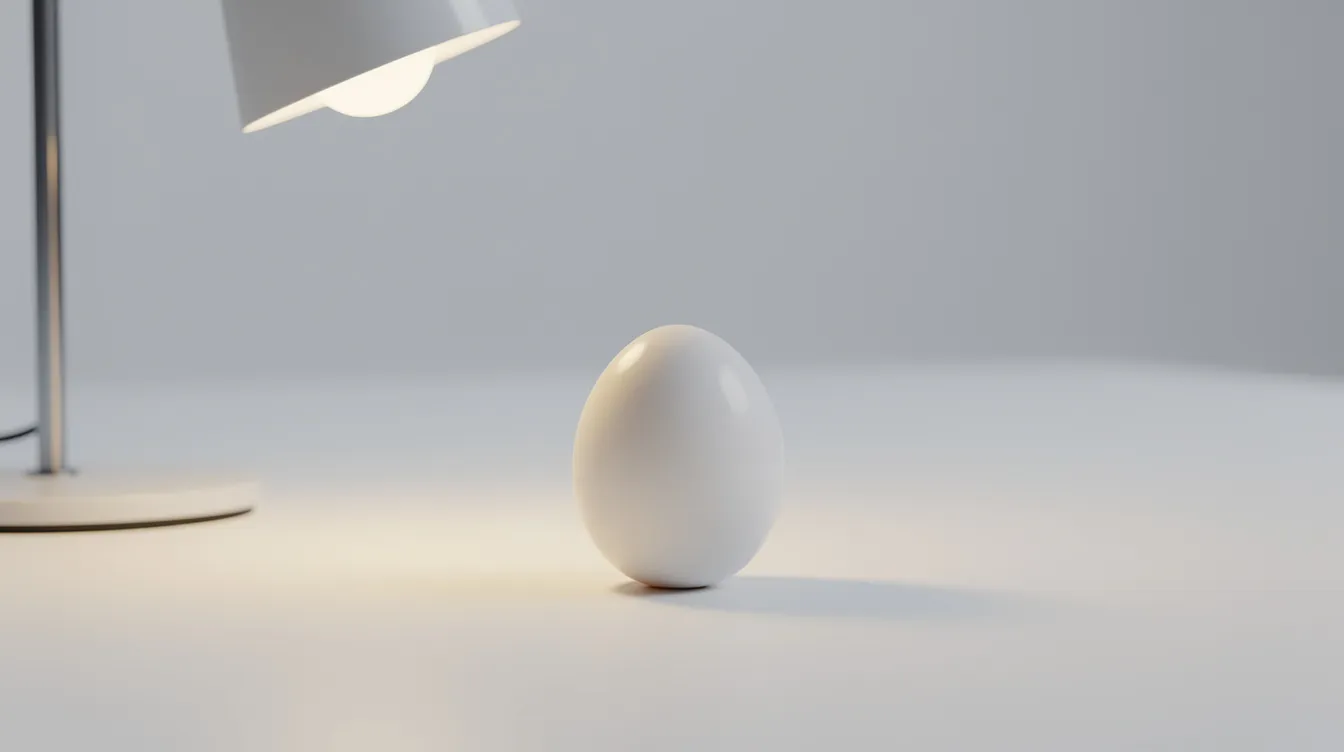
Set an egg or orange near a lamp and draw it three times, once per technique. An egg is a forgiving subject, because its form is basically a sphere with no distracting detail. Each version is a small lesson in how light behaves. Keep the focus on big light and shadow shapes, not tiny texture. Draw the shadow you actually see, not the one you expect. Watch where the shadow falls and where the light hits. The concept is simple. The practice is where the skill lives.
Step 7: Build a Short, Sustainable Routine for How You Draw
Consistency matters more than the length of any one session. Three or four short sessions beat one long Sunday because your hand and eye learn by repetition spread across days. If you draw often, even badly, your skills improve over weeks and months, and each session builds the skill a little more. Regular practice in any form beats waiting for inspiration. Think of each session as a lesson, not a performance. Progress arrives a bit at a time.
A sample week:
|
Day |
Focus |
Time |
|---|---|---|
|
Monday |
Lines and warmups |
15-20 min |
|
Tuesday |
Basic forms |
15-20 min |
|
Wednesday |
Objects from life |
20-30 min |
|
Thursday |
Shading |
15-20 min |
|
Friday |
Fun: draw anything |
15-20 min |
My session shape: five minutes of warmup, fifteen of one focused exercise, ten to draw an object from life, and a minute looking at the page. Tie sessions to existing habits, like after morning coffee or before bed. A good idea is to leave your pencil and pad out on the table so there is nothing to set up. Short sessions develop the habit faster than long ones ever did for me. Missing days is normal. The key is to draw again tomorrow. If your week is already crowded, even ten minutes to draw counts, and you will learn more from a rushed Tuesday sketch than from a perfect plan for Sunday. Pick one technique per session and stay with it. The idea is to find time to draw with a full-time job, not to create a second one. I wrote up how to find time to draw with a full-time job if you want more ideas.
Step 8: Use Beginner Tutorials Wisely (Without Getting Overwhelmed)
Online tutorials help, and they can cause overload. My trap: every night I would google a new topic, then watch videos on my computer about shading, then perspective, then eyes, and end up with a head full of tips and pages full of nothing. Pause the video and draw along instead of just watching.
Pick one structured beginner course or playlist at a time. Match it to your level. A basic “how to draw from life” series, not advanced character design. Finish each lesson and its exercises before moving on. A well-built lesson ends with something to draw, not just something to watch. A good course gives you an order, and the order saves months, because you learn each step on top of the last. Look for a clear sequence, a teacher who can teach why something works and not only what to copy, and a pace that does not punish beginners. The first two weeks of any course feel awkward. That is normal.
Lisa’s Fundamentals of Drawing course is the one I would point a friend toward for fundamentals. There are 5 levels in the drawing course. Level 1 teaches how to sketch and see differently, which is exactly where adults who have not picked up a pencil to draw since school need to begin. I am a genuine fan of how she likes to teach: patient, step by step, and never in a hurry.
Revisit the same tutorial in 3 to 4 months to see your progress. On The Hobby Artist I write about adult-friendly learning paths, not crash courses or gimmicks.
Step 9: Draw from Life, Not Just from Photos and Cartoons
Drawing from life enhances your observational skills in a way that copying photos or stylized artwork does not. When you observe a real object, you measure depth, light, and angles with your own eyes. A common mistake among beginners is to draw from memory rather than observation, and life drawing breaks that habit. Imagine trying to draw a bicycle from memory: most of us get the frame and chain wrong. Imagination works best after the eye has been trained, so look first. Using references is crucial if you want to learn how to draw accurately. Every time I sit down with a real object, I learn something I would have missed in a photo.
Accessible subjects for your home: coffee cups, shoes, keys, houseplants, kitchen utensils, and self portraits in a bathroom mirror. I would advise against starting with faces. I did, and it was a bad idea and a short, humbling detour, because every person knows what a face should look like and notices every mistake. Practicing on everyday objects lets you develop your eye and build the skill without that pressure.
Try a “30 day household object” challenge: one different object each day. For example, a stapler, a pair of glasses, a bar of soap. Each one is a small lesson in light and shape. Expect to draw some messy ones, and that is normal. Improvement comes from repetition, not from avoiding difficulty. For readers interested in a demanding book that never lets you skip the looking, Kimon Nicolaides wrote The Natural Way to Draw, which is built around hours of observational exercises.

Step 10: Stay Motivated and Avoid Common Adult Beginner Traps
Many adults struggle with perfectionism when starting to draw. The notebook is a private learning space, not a gallery. Bad drawings contribute to learning by flushing out bad habits, and they are a form of research. Every rough sketch holds a lesson that the polished ones will never teach you.
Your eye will run ahead of your hand. You will see what is wrong before you know how to fix it. That gap is a sign you are on the right track: you learn to see first, and you learn to fix later. It is common for beginners to compare themselves unfavorably to professionals, especially on social media. Try thinking about the last page you managed to draw instead of the best artist you follow. Track your own dated pages too. Tracking progress can boost motivation, and flipping back through old pages is the fastest cure for feeling stuck. Be a bit kinder to yourself. Patience is a skill you develop too.
For inconsistent practice, set a tiny minimum: draw a 5-minute sketch on busy days. Enjoyment improves with practice and exposure. Many beginners think the fun comes only after improvement, but playful drawing reduces stress right now, even when the results look rough. Drawing should be enjoyable, not a chore. Celebrate small wins, like a filled notebook or better shading on a sphere. It is also beneficial for beginners to explore different styles along the way; try pen, try charcoal, try to draw a figure from your imagination. Is it too late to learn to draw? No. It is not, and I encourage you to stop asking and go draw something.
Think of yourself as a hobby artist already, not a “wannabe.” Every artist you admire started with wobbly lines.
How to Start Drawing as a Beginner Adult: Your Path from Here
The path is basic forms, lines, simple shading, and a routine you can keep. Starting in your 20s, 30s, 40s, or later is valid. Consistent practice beats talent and art school credentials for most hobby artists. If you are not yet sure drawing deserves a place in your week, my piece on why adults take up drawing makes the case.
Decide on one small action today. Buy a cheap notebook. Choose a tutorial to follow. Or just draw the nearest object on your desk. Draw something on paper tonight, even if it is a lopsided mug.
This blog exists to help busy adults build a calm, satisfying drawing practice alongside real life. I am Paul at The Hobby Artist, and questions about where to begin are my favorite kind of email.
FAQ
What is the best first thing for adult beginners to draw? A simple object in front of you, like a mug or a piece of fruit, broken into basic shapes first. Avoid faces and hands at the start.
Do I need to take a class to start? No, but following each lesson in a sequence, whether from a book, a class, or an online course, beats random tutorials. The structure matters more than the form it takes.
How long should I draw each day? Twenty to forty minutes is plenty, and ten minutes counts. Regular short sessions beat rare long ones.
Should I draw with pencil or pen first? Pencil, because it forgives mistakes. Try pen once your lines are steadier.
Can I learn how to draw if I have no talent? Yes. Talent matters far less than hours of practice, and I am proof. Nobody is born knowing how to draw a cylinder.
Can I draw animals as a beginner? Yes, but start with a sleeping pet, since animals that move are better saved for quick gesture sketches.
Can I draw from imagination right away? Try it once you have a few weeks of observation behind you. Imagination needs material, and drawing from life fills the shelves.