
If you have been thinking about picking up a pencil but keep telling yourself it is too late, this post is for you. I want to walk you through the drawing exercises that helped me go from zero to something I am actually proud of, all while holding down a day job and learning at the kitchen table after dinner.
Quick Start: Your First 10-Minute Drawing Exercise
I kept the books for a freight company for twenty years and picked up a pencil at 44, the fall my daughter left for college. No art background. No talent to speak of. I bought a drugstore sketchbook because the house got quiet, and I needed something to do with my hands. The first drawing exercise I ever tried took about ten minutes, and I am going to hand it to you right now so you can start drawing tonight.
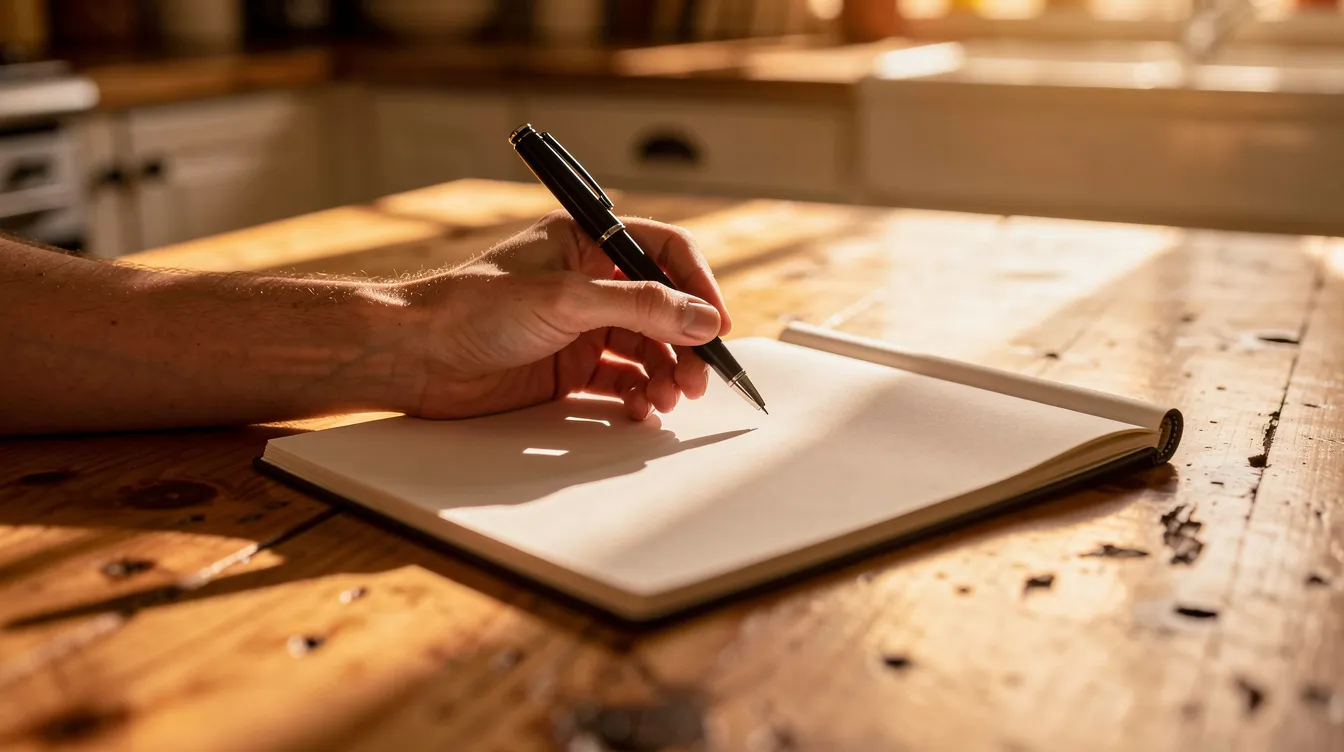
Grab a cheap A5 sketchbook, one black pen, and sit at a table with decent light. No eraser. Picture a Tuesday evening in November 2026, nothing special, just you and a blank page.
-
Open the sketchbook to any page and draw lines across the top third. Long ones, short ones, fast ones. Do not worry about straight. Just fill the space.
-
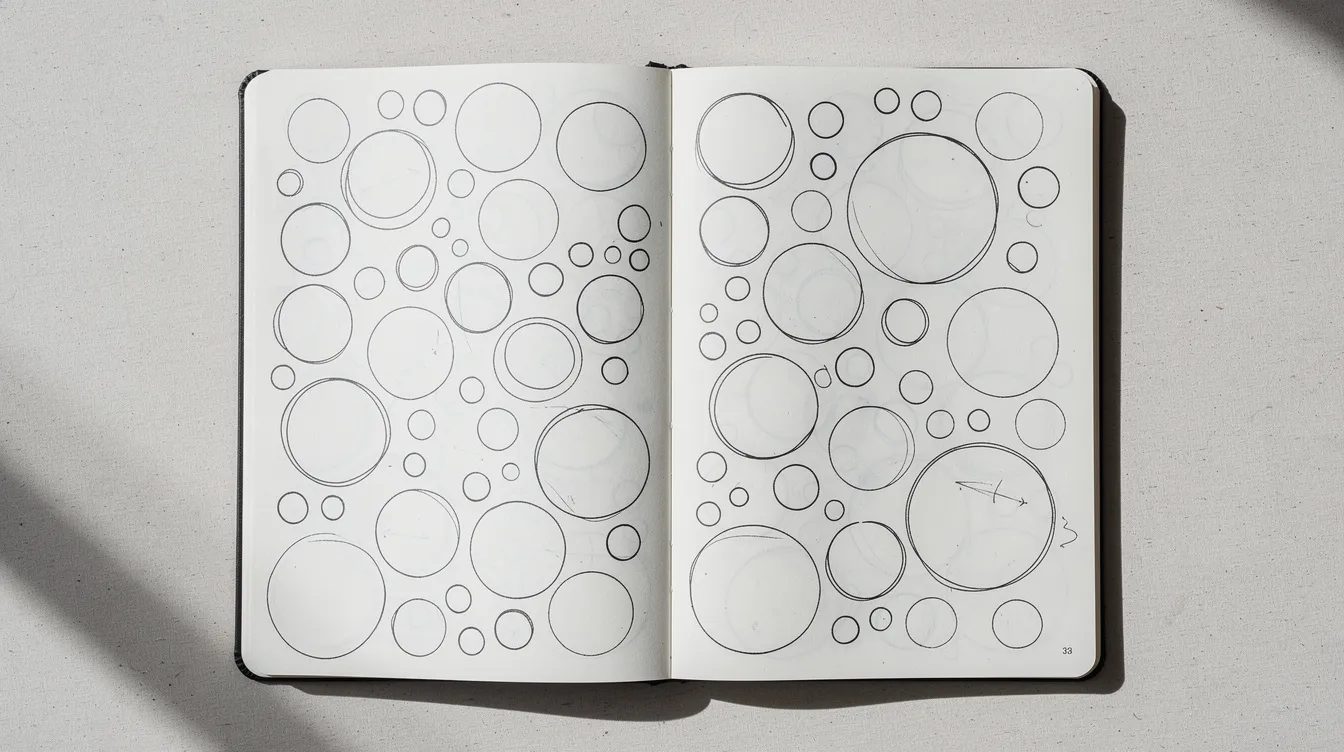
In the middle third, draw circles of different sizes. Big ones, tiny ones, overlapping ones. One continuous motion per circle, no tracing back over.
-
In the bottom third, draw five or six boxes. Rectangles, squares, whatever comes out.
That is it. The whole point is not to create art. It is to feel how the pen moves across the paper and to prove to yourself you can start today. Daily warm-ups with basic exercises like this build confidence in drawing, and simple exercises help adults with no art background get going. Keep it fun rather than perfect.
Why Drawing Exercises Work (Especially If You’re Starting as an Adult)
My first few months, I thought exercises were what you did before “real drawing.” I would rush through lines and circles so I could get to sketching a coffee mug. It took me about three months to realize the exercises were the real drawing, and the pretty pictures came out of them. That was my biggest mistake, and I do not want you to repeat it.
Drawing is a trainable skill, closer to learning to type than to being born with some gift. Structured sketching exercises build two things at once: hand control, so you can draw lines where you want them, and perception, so your brain learns to see shapes and forms instead of symbols. Effective drawing exercises improve muscle memory and spatial awareness. Practicing them builds hand control and observational skills. Consistent practice is key for beginners to improve drawing skills over time.
Here is an interesting number: just 15 to 20 minutes of focused practice, three evenings a week, can produce visible improvement within a month. Research on observational drawing in adults showed measurable changes in perception after about 16 weeks, with line variation improving nearly 29 percent. Frequent practice with structured exercises accelerates artistic progress. This guide comes from The Hobby Artist’s perspective, with realistic routines for busy adults rather than art school assignments. For readers who want the full picture of getting going before they pick exercises, I wrote a separate piece on how to start drawing as an adult beginner that lays out the order I would use in the first month.
Warm-Up Basics: How to Draw Lines with Control
Nearly every beginner underestimates what a few minutes of line practice does. I know I did. But line control exercises focus on drawing smooth, confident lines, and without them, every shape you try later will wobble.
Try this: mark a point A on one side of the page and a point B on the other. Before you touch pen to paper, ghost the stroke in the air. Ghosting lines helps visualize and improve line placement. Swing your arm along the path two or three times, then commit with one motion. Draw straight lines toward a point like this to train hand eye coordination.
Now fill the rest of the page with short and long straight lines, drawn quickly from the shoulder, not the wrist. Speed and light pressure matter more than perfection here. This is what made my own lines stop wobbling. A confident line looks better than a timid one even when it lands in the wrong spot.
Watch for three common problems. Wobbly lines mean you are going too slow and gripping too tight. Hairy lines made of tiny strokes mean you are second-guessing every mark. Pressing too dark means you cannot correct later. Draw light first, because you can always darken a line but a dark one is messy to erase. Continuous line drawing enhances hand-eye coordination and observation, and these drills are both a warm-up and a foundation for the more complex sketching exercises below.
Parallel Lines: Building Accuracy and Patience
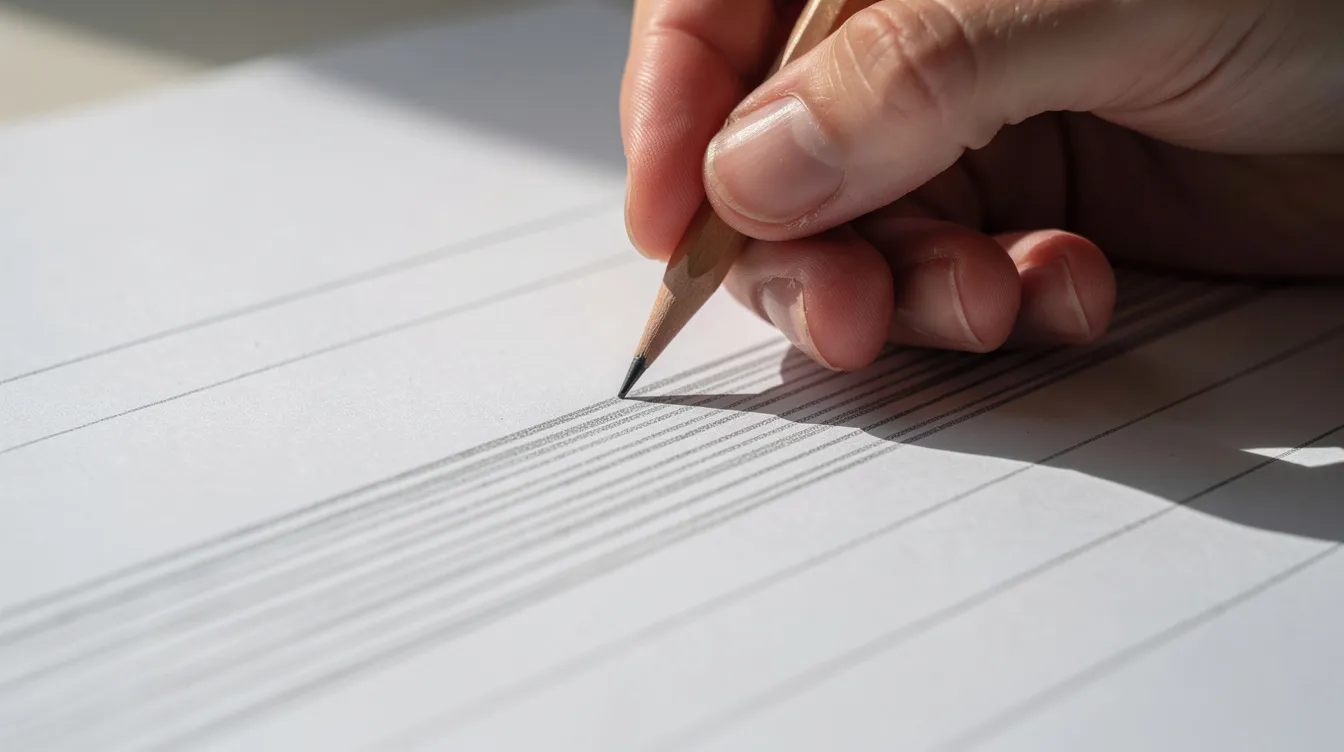
Parallel lines are exactly what they sound like: a row of lines with even spacing between them. The exercise trains precision and control in line placement, and it is more challenging than it looks.
Draw one straight line near the top of the page, then fill the page with lines beside it, aiming to keep the gaps consistent. This works as a 5 to 10 minute warm-up before bed or during a coffee break. When you finish, pause and look for drift. Are some lines converging? Diverging? That self-assessment is where the lesson lives. Practicing parallel lines enhances muscle memory and accuracy, and filling paper with them builds hand strength and control.
Practice in different directions: vertical, horizontal, diagonal. Do not rotate the page. Force your arm to figure out each direction. The ones that feel hardest are the ones worth repeating. Better parallel lines lead to more confident boxes, buildings, notebooks, and just about any surface with a flat edge in your sketches.
Curves, Circles, and Ellipses: Sketching Exercises for Everyday Objects
Most real life includes curves, not just straight edges. Cups, bowls, wheels, fruit. Drawing circles of various sizes improves hand control, and once you have a bit of confidence with them, curved forms stop feeling so scary.
Fill a page with circles in one continuous motion each. Big, small, overlapping. Accept that they will look rough. Drawing simple shapes like these enhances hand control and understanding of forms. Next, draw two horizontal guide lines and place ellipses between them, touching both lines without breaking through. An ellipse is simply a circle seen at an angle, and drawing ellipses helps in creating cylinder-like forms.
Now connect those shapes to real objects. This changed how I look at things: a tissue box is a cube, a can is a cylinder, an orange is a sphere. Complicated objects become much less scary when you realize they are just combinations of basic forms. Encourage yourself to repeat these for about five minutes daily. Most people notice smoother curves within a week.
Seeing Like an Artist: Simple Perception Exercises
Before shading and details, you need to learn to see shapes and proportions instead of named objects. Your brain wants to draw a symbol for “chair” instead of the actual shapes in front of you. These perception exercises train you to notice what is really there.
Negative space drawing is a good place to start. Choose a chair or a mug and draw the shape of the empty space around it rather than the object itself. This helps you see shapes and proportions more accurately because you cannot fall back on symbols. Observation skills are improved by drawing everyday objects from life.
For an angle-measuring drill, compare angles on the subject to an imaginary clock face, then reproduce them on paper. Perspective drawing teaches how to visualize 3D on paper, and cross contour lines define form and value in drawing once you progress to more complex subjects.
Try an upside-down drawing exercise: take a small photo reference, flip it upside down, and copy what you see. Drawing upside down helps disengage the analytical brain and encourages direct observation. It feels strange at first, and that strangeness is the point.
My pick for the single most important exercise is slow contour drawing, and its blind version where your eyes stay on the object the whole time. Contour drawing helps recognize distinctive lines of objects. In blind contour, you trace the edges of the subject without looking at your paper. The result looks odd, with lines that do not quite meet, and that is fine. Blind contour drawing trains artists to observe shapes rather than symbols. Using blind contour techniques disconnects the critic from the drawing process. If I could keep only one exercise from this entire post, this would be it. Continuous line drawing enhances observational skills and hand-eye coordination.
Value Studies: From Flat Outlines to 3D Form
Value means the lightness or darkness of a tone. It is what turns a flat circle into a sphere that looks like it could roll off the table. Value studies improve understanding of light and shadow in drawings.
Start by drawing a quick value scale on the side of your page: a row of five or six boxes, from the white of the paper through a few grays to the darkest your pencil can comfortably make. I fell into the beginner trap of cramming all my shading into the middle tones, afraid to go really light or really dark. If your scale has a few similar steps and then a sudden jump, lighten your touch on the dark end and push harder on the light end.
Now pick a single object, an apple or a ceramic mug, under one light source and draw only its big light and dark shapes. Look for the core shadow on the figure, the highlight, and the soft shadow it casts on the table. Squint to simplify. Spend 10 to 20 minutes slowly building up shading with light pencil strokes, layering rather than pressing hard. Shading gradients cultivate control over tonal values. Practicing shading develops understanding of light and shadow in drawing. Using hatching techniques creates an interplay of light and shadow, and chiaroscuro exercises help you understand light and darkness at a deeper level. Even drawing cloth enhances skills in depicting light and shadow once you are ready to try fabric folds. Gesture drawing captures movement and overall structure quickly, but value is what gives your drawings depth and room to breathe.
Timed Drawing Sessions: One Subject, Different Speeds
Adults with busy schedules need exercises that fit a lunch break or a short evening. Timed drawing sessions are awesome for that.
Pick one subject. A shoe, a bottle, your head in a mirror. Set a phone timer and draw the same subject three times on one page: a 2-minute sketch focused on big gesture and flow, a 5-minute sketch adding proportions and angles, and a 15-minute sketch with values and details. Treat each round like a small experiment, not a performance. The benefits include faster observation, better decisions about what to include, and a real time sense of what actually matters in a drawing. Routine sketching like this promotes consistent improvement. As a former bookkeeper, I loved having a clock keep me honest.
Building a Simple Weekly Practice Plan
Consistency beats intensity. Three short sessions across the week do more for your progress than one marathon on Saturday.
Here is a sample plan using the drawing exercises above:
|
Day |
Exercise (15 to 25 min) |
|---|---|
|
Monday |
Lines and parallel lines |
|
Tuesday |
Circles and ellipses |
|
Wednesday |
Value study |
|
Thursday |
Perception: negative space or contour |
|
Friday |
Timed sketches of a single subject |
|
Saturday |
Rest or catch up |
|
Sunday |
Still life combining the week’s skills |
My own early weeks looked like about three hours total, ending with a simple still life of two or three objects and a lamp to one side. My rule: if life is too much, make sessions shorter, not fewer. Keep the same pen or pencil and sketchbook for at least a month so you can track progress visibly page by page. End each session with one small “real” sketch applying that day’s warm-up: keys, a coffee cup, a plant on the windowsill. For readers who struggle to keep a routine, I have a separate piece on how to build a daily drawing habit that covers the tricks that helped me stick with it.
Staying Motivated and Measuring Your Progress
Your early drawings will look shaky. That is proof the drawing exercises are working, not a sign of failure. Your eye improves before your hand does, so the first few weeks can feel frustrating because you can see what is wrong but cannot fix it yet. If that slow pace is what is wearing you down, I wrote about keeping going when progress feels slow.
Date every page. Save the first week. After 30 days, open back to day one and compare. Set tiny, clear goals: “fill one page with parallel lines,” “do three timed sketches this week,” “draw circles every day for five days.” Tiny wins build confidence.
Common traps for adult beginners: comparing yourself to professionals online, expecting instant results, quitting after one busy week, drawing small and tight, skipping the boring drills (the dull ones pay off most), and erasing constantly. Leave wrong lines in and draw over them, because you learn more from seeing your corrections. Treat your sketchbook as a private training ground, not a gallery. You are a hobby artist, and that is a strength, not a limitation.
These foundational skills lead somewhere. Once lines, shapes, values, and perception feel natural, you can move to simple landscapes, paintings of everyday scenes, or even people. The decision to draw today matters more than what your drawing looks like today. If you want the broader picture of how improvement tends to unfold over months, I laid that out in my piece on practical steps for steady improvement.
FAQ
How long should I spend on drawing exercises each day? Fifteen to thirty minutes is enough for most beginners. If you only have ten, do a warm-up and one focused exercise. That is still useful practice.
Which drawing exercise is most important for a beginner? My answer is contour drawing, because looking is most of what drawing is. Basic forms are a close second. Between the two, you cover perception and hand control.
Do I need a course or classes to do these exercises? No. A pencil, paper, and objects around the house are enough materials to get started. A course mainly helps with ordering and feedback, but these techniques work on their own.
When will I see results from these exercises? Most people notice steadier lines and better hand control within two or three weeks. Better proportions and more believable form typically show up within a couple of months of consistent practice. If you have a comment or a question about your own progress, I would love to hear it at [email protected].