
Drawing is a learnable skill. I say that as someone who kept the books for a freight company for twenty years and picked up a pencil at 44, the fall my daughter left for college. No art background. No talent to speak of. If you are fitting drawing around a full-time job and a life that doesn’t leave much room, this article is for you.
Here is the core answer up front: you get better at drawing by practicing on purpose. Pick one specific thing you cannot do yet, work on it in short sessions, check the result against the real subject, and repeat. That sounds simple. It took me eight months to figure out.
I filled a drugstore sketchbook with mugs and my left hand and saw no change. The drawings were not bad, they just were not improving. A retired nurse in my sketching group asked what I had been trying to learn from a page, and I had no answer. I was drawing without a target. Once I started choosing a focus for each session, like the curve of a handle or the shadow under a rim, the pages started to teach me something. Improving drawing skills requires consistent, deliberate practice, not just mileage. This idea has a name in learning science: deliberate practice, which means working at the edge of your ability with a clear goal and a way to check your result. It is not just my opinion; it is an established framework studied across music, sports, and motor skills for decades.
What follows is the practical roadmap I wish I had found in my first year. You can start this week. If you want the specific steps I took at the beginning, see what I’d do as a beginner.
Start With A Simple Daily Drawing Habit (One Page A Day)
Daily or near-daily practice is the fastest route to improvement, even at fifteen minutes. Short daily sessions yield better results than infrequent long sessions because perceptual skills settle between them. Dedicate 15 to 30 minutes daily to drawing practice and you will likely see visible gains in a few weeks.
The rule that helped me most: fill one page in your sketchbook, not one perfect drawing. One page of wobbly boxes is better than a blank page you were afraid to ruin. Daily sketchbook practice improves drawing skills over time, and filling a sketchbook with doodles enhances creativity in ways you do not expect. Sketchbooks serve as a personal art journal for daily reflections, so carry one and draw whenever you have free time.
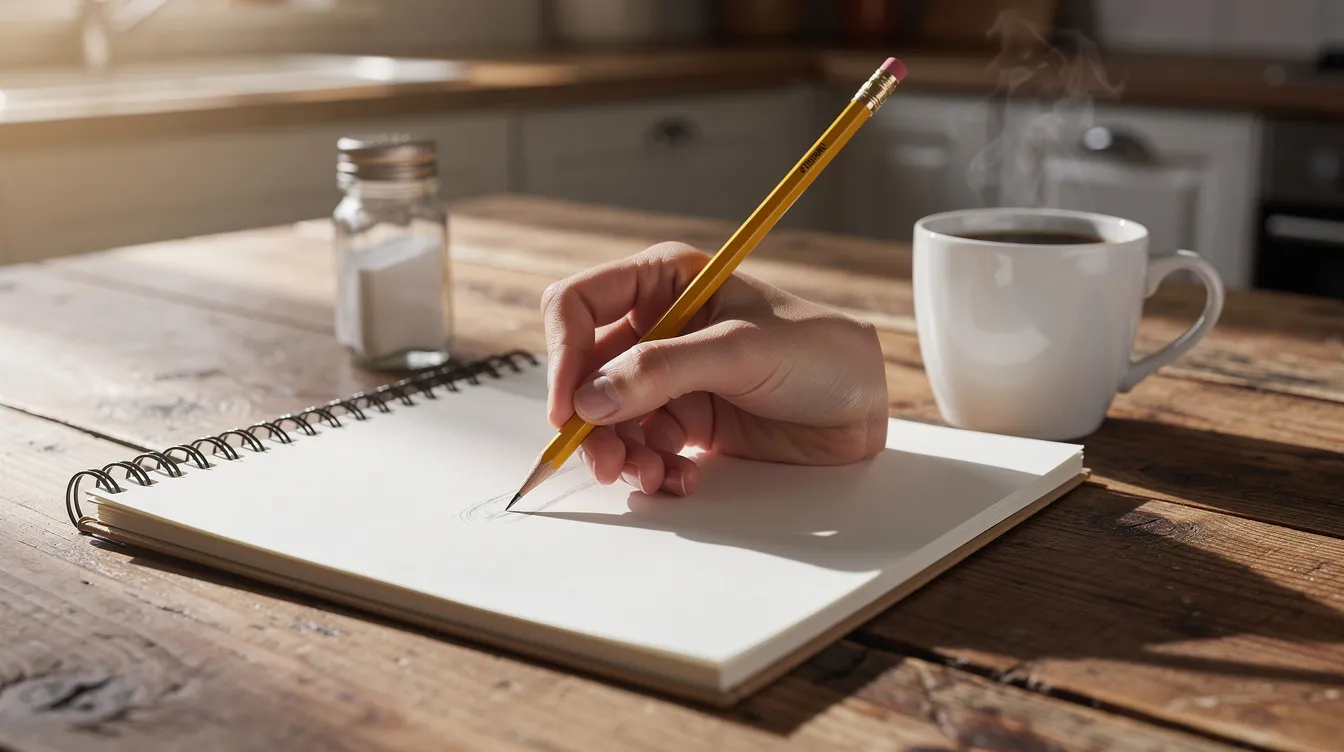
Attach drawing to a routine you already have. My version: forty minutes after dinner at the kitchen table. That habit has done more for me than any weekend marathon ever did. Track your streaks on a calendar or a habit app. Missing a day is fine, but try not to miss two in a row. A sustainable drawing routine enhances skill development over time, so pick a schedule you can actually keep. For the full setup, read how to build a daily drawing habit.
Warm Up Properly: Train Your Hand Eye Coordination
A warm up is a five to ten minute routine at the start of each session to loosen the hand and train hand eye coordination. Skip it and your first real drawing of the night carries all the stiffness.
Here are drills I use:
-
Straight lines. Draw sets of parallel lines across the page, trying to keep them even.
-
Ellipses and circles. Fill a row with ellipses of different widths. Circles at different sizes.
-
Spirals. Controlled spirals that expand smoothly.
-
Ghosting. Hover the pencil along the path of a line a few times before touching the paper, then commit in one stroke.
-
Simple boxes. Quick cubes from different angles, just rough.
-
Blind contour. Look at an object on the table and trace its edge with your pencil without looking at the page. Blind contour drawing sharpens your observation skills and trains your eye for better proportions.
Draw with your entire arm, not just your wrist. Shoulder and elbow movement gives more confident lines and less shake. Warm ups build smoother line work, cleaner hatching, and more accurate proportions over time. Ellipses were the first thing that visibly improved for me, though it took close to a year before I noticed. Lisa’s drawing academy has a clear write-up of eight exercises worth trying, and I still go back to it when my warm ups get stale.
Build Strong Fundamentals Instead Of Chasing Tricks
Drawing rests on a handful of fundamentals. Here is each one with a practice idea:
-
Line. Fill a page with confident single strokes. No feathering, no sketchy back-and-forth. Drawing basic shapes helps build foundational skills.
-
Shape. Break every object into circles, rectangles, and triangles before adding details.
-
Proportion. Measure with your pencil. How many eye-widths fit between the eyes? Check ratios before committing.
-
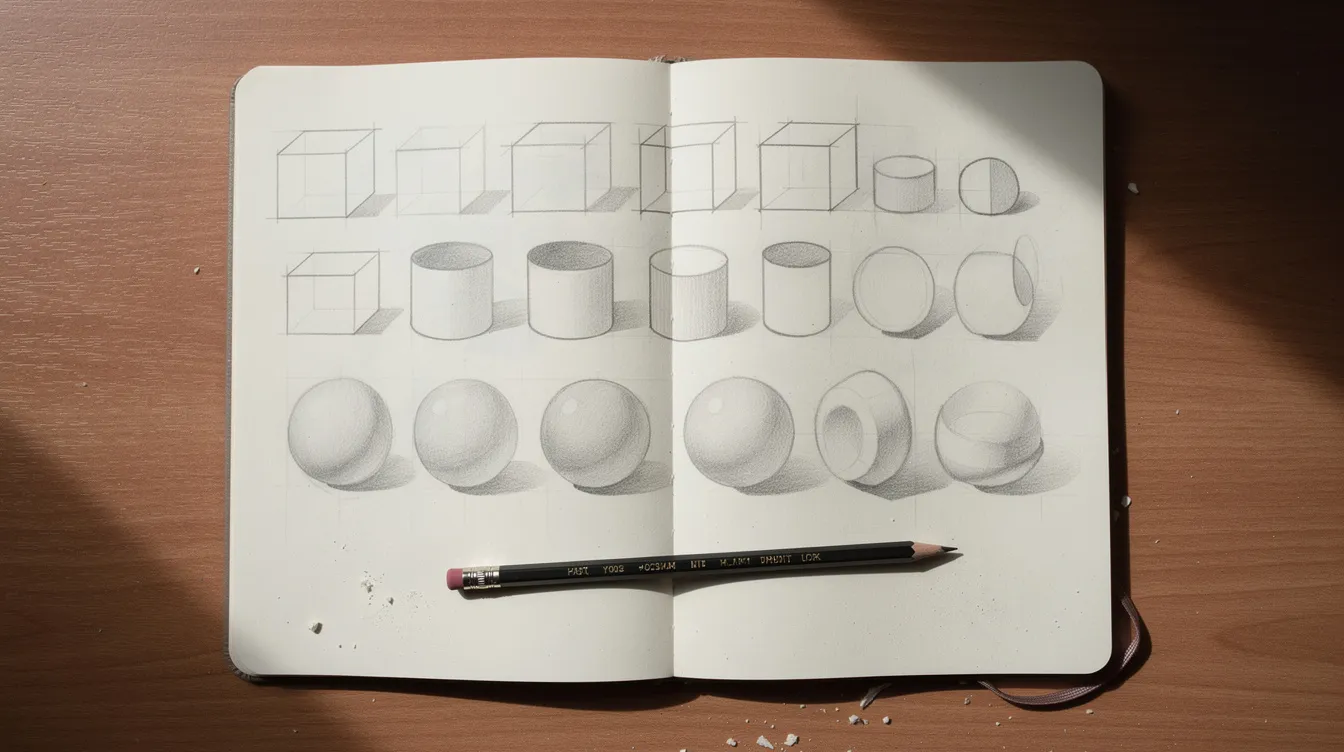
Perspective. Pages of boxes in one-point and two-point perspective. This single exercise taught me more than a dozen tutorials.
-
Light and shadow. Practice drawing a gradient from dark to light pencil. Learning light and shadow is crucial for creating depth in drawings. Value refers to the lightness or darkness of an object, and getting value right makes flat shapes look round.
-
Basic anatomy. Simplified skeleton, major muscle masses, bony landmarks. Even stick figures become useful when you label the joints.
My biggest mistake was trying to fix everything at once. I would attempt a portrait and try to fix proportions, shading, line quality, and likeness together. It came out muddy because I was failing at four things and learning from none. Mastering the fundamentals helps create more realistic drawings, but only if you pick one or two per month and spend real time there. One month of cubes and cylinders in perspective, the next month on head proportions. Each skill makes the others easier.
Learn To Really See: Observation Skills & “Abstracting” Shapes
Improving observation is the fastest way to get better at drawing, whether you work from life or photos. The trick is to stop naming things. Instead of thinking “this is an eye,” think about the angle of the line, the distance between two points, the shape of the shadow. Drawing from life improves observation skills significantly because you are forced to solve the puzzle yourself.
Here are drills that work:
-
Upside-down drawing. Flip a reference image upside down and copy it. Your brain stops recognizing the subject and starts seeing shapes.
-
Silhouette copying. Draw only the outline, no interior detail. This trains proportion.
-
Negative space drawing. Instead of drawing the object, draw the space around it. Negative space drawing helps improve shape recognition and proportions.
-
Pencil measurement. Hold a light pencil at arm’s length and use your thumb to compare angles and relative sizes against the subject.
My favorite check: flip the drawing in a mirror or hold it upside down. Lopsided proportions jump out immediately, it is free, and it works every time. Then hold the page next to the real object and compare line by line, because the object is the final judge.
Daily practice of observation leads to noticeable improvement. Do slow, accuracy-focused studies a few times a week. Speed and style can wait.
One more thing: after enough hours with your own drawing, your eye agrees with your hand. When you can, get a second pair of eyes and ask a specific question like “Is the left side of the jaw too wide?” rather than “does this look right?”
Use References, Real Life, And Memory Together
Reference photos are not cheating. Using references can significantly improve drawing skills, and many artists rely on them constantly. But photos, life, and memory each train something different.
Drawing from life improves your skills faster than copying a photo. A photo has already done the hardest part, turning a three-dimensional thing into two dimensions, and doing that translation yourself is most of what drawing is. My kitchen table has been my studio for years: a pepper, a coffee tin, a shoe, a folded dish towel. Drawing ordinary objects helps develop keen observation skills. Moving your head to see objects change from different angles teaches why shapes are what they are. Studying real-life subjects enhances drawing accuracy in ways a flat reference image cannot match. Drawing from life in a sketchbook builds observation skills session after session.
I still use reference photos for faces and things I cannot bring home, but when I am trying to improve at something specific, I go back to the table.
Memory drawing is the third piece. After a study, close the reference and redraw from memory on the next page. The cycle of reference study, memory redraw, then compare and correct exposes gaps fast. A simple session might look like this:
-
Five-minute warm up drill.
-
Fifteen-minute study from life, focusing on one fundamental (like shading or perspective).
-
Close the reference. Redraw from memory.
-
Compare side by side and note what you missed.
Drawing simple and complex subjects helps diversify practice, so mix easy subjects like a coffee mug with harder ones like a crumpled paper bag.
Practice Figure Drawing & Anatomy Studies The Smart Way
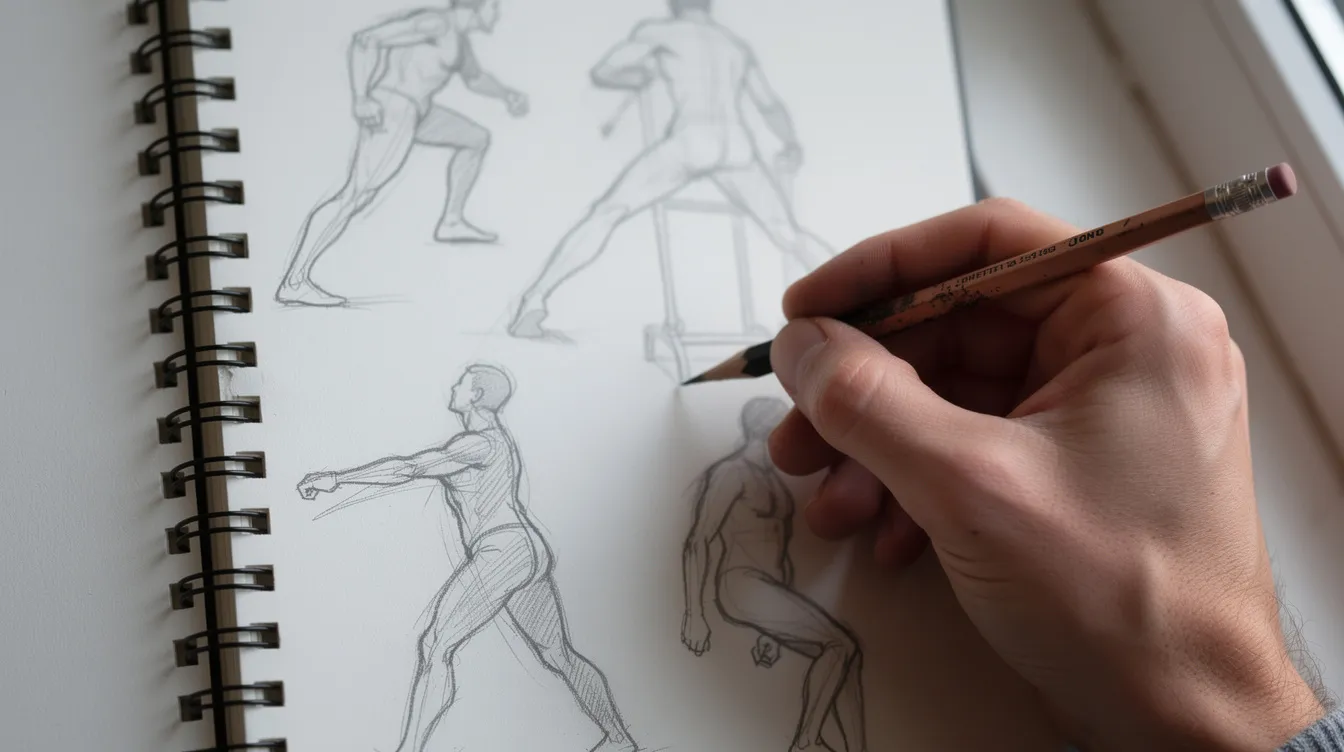
Figure drawing is one of the most efficient ways to improve overall drawing skills, even if you are not interested in drawing people professionally. It forces you to deal with proportion, gesture, anatomy, and light all at once.
My weekly routine: one page of anatomy studies on a single body area, like the ribcage, pelvis, or hands, plus one page of gesture or simple figure drawing. Hands are still a mess for me, and the old pages remind me to keep working on them.
Copy from classic resources like Loomis or Hampton and label muscles and bony landmarks directly on the page. Keep anatomy studies simple, focused on structure and major forms, not polished rendering. Gesture drawing captures movement and energy quickly, and timed poses of 30 to 120 seconds teach you to see the whole figure before getting lost in adding details.
A weekly mix might look like:
-
Monday/Wednesday: Anatomy page (one body part per week).
-
Tuesday/Thursday: Ten timed gestures (60 to 90 seconds each).
-
Friday or weekend: One longer figure study, 20 to 30 minutes.
Quantity Over Perfection: Timed Sketches, One Vs Many
Many imperfect drawings usually beat one precious piece. Example: ten 6-minute head sketches teach more about head structure than one polished 60-minute portrait, because each sketch is a fresh attempt at the big shapes.
Use a timer. Try ten gestures at one minute each, or several 5-minute object studies. Time limits push you toward big shapes, proportions, and clear lines instead of fussing over tiny details too early. Quick rendering forces priority decisions that slow, careful work lets you avoid.
I sometimes do five 90-second gesture sketches of ordinary things around the house, like my daughter’s old backpack, focusing on a specific goal each round: first the silhouette, then the folds, then the shadow pattern. Small, checkable goals like “capture the shadow shape” work. “Get better at shading” cannot be checked.
Treat timed pages as training, not artwork for a portfolio, and keep them as a record of progress. Date your pages. I did not at first and I regret it.
Experiment With Different Drawing Tools (And Learn Their Strengths)
Experimenting with different drawing tools shows what suits your style and keeps practice fresh. Using various drawing tools in a sketchbook fosters exploration and breaks you out of ruts. Experimenting with different mediums enhances drawing skills because each tool teaches something distinct.
A short list of what each drawing tool encourages:
|
Tool |
What it trains |
|---|---|
|
HB / 2B pencil |
Gradations, subtle value, precision |
|
Charcoal |
Loose mark making, big shapes, bold values |
|
Fineliner / ink pen |
Line confidence, commitment (no erasing) |
|
Brush pen |
Edges, contrast, expressive lines |
|
Colored pencils |
Layering, color temperature, patience |
|
Ballpoint pen |
Everyday sketching, hatching discipline |
|
Digital tablet |
Layering, flipping, undo (limit undo to build discipline) |
Mini challenge: fill one page using only a chunky marker for big shapes. The next day, a page of tiny pen hatching studies. Art materials do not need to be expensive. My first eight months were in a drugstore sketchbook, and printer paper with a cheap ballpoint works well at first.
Plan Your Learning So You Know What To Practice Next
My old approach was random: drawing, feeling unhappy, and chasing scattered tutorials with no plan. My bookkeeping brain liked the fix right away once I found it. It is the difference between entering numbers and reconciling the account. Both involve numbers, but only one tells you if something is wrong. Drawing should be focused and intentional to promote skill improvement.
Monthly planner: pick one or two clear topics, like “boxes in perspective” or “hands and forearms,” instead of vague goals. Turn them into concrete targets: “By the end of November I can draw a basic head from three different angles without reference.” Set aside time for drawing to avoid burnout and maintain creativity.
A sample weekly structure:
-
2 days: Fundamentals focus (perspective, shapes, value).
-
2 days: Figure drawing or anatomy studies.
-
1 day: Fun session. Draw whatever you want. This is where you explore ideas, try original characters, or sketch from inspiration.
Adjust every four to six weeks as new weaknesses show up.
Every few months, redraw an early sketchbook subject without looking at the old version. Then compare side by side. You see what improved, which is better motivation than any pep talk, and what did not, which becomes your next practice target. Practice drawing every day to see noticeable improvement, and this comparison habit makes that improvement visible.
Mindset: Mistakes, Comparison, And Staying Consistent
Lots of “bad” drawings are not failure. They are the reps that build your skills. Mistakes are part of the drawing process, so embrace them. Every mark on paper is information, not a verdict on your talent.
Your taste grows faster than your technical skill, so your drawings can look worse to you before they look better. Your eye sharpens before your hand catches up, and this stretch usually passes. It is not a big deal, even though it feels like one. Be patient with the clock. Some skills take a few weeks, others a year, and the plateau where nothing seems to move is normal.
Do not compare yourself with other artists on social media. Compare this month’s drawings with ones from six or twelve months ago. Treat every drawing as feedback. If comparison keeps getting in the way, I wrote about ways to stop comparing your art, and it helped me more than I expected.
Stay consistent with small daily goals. Draw with a friend, leave the sketchbook in sight, or join a sketching group. My sketching group has a rule that nobody can say “nice” without adding one thing they would change. It sounds harsh and it is the most useful hour of my month. Teachers and peers who give specific feedback, like “the nose tilts left,” will do more for your art journey than vague encouragement.
Make Practice Enjoyable And Keep Learning With The Hobby Artist
Mix serious exercises with subjects you love. Pets, game characters, plants, city scenes from your own life. Small projects help: a week of coffee cup drawings, a month of daily self-portraits. Enjoy drawing by making it personal. Making art should feel like something you look forward to, not homework. The learning process works best when the challenge is real but the subject pulls you in.
Drawing and painting are long-term companion hobbies. Progress measured over months and years matters more than what happens on any single page. Your skill level will look different a year from now if you practice regularly, even in small doses. I hope you take one idea from this article and try it tonight, even if it is just fifteen minutes and one page.
Here is how to keep going:
-
Fill one page today. Pick an object within arm’s reach and sketch it. Focus on one thing, like the shadow or the proportions.
-
Sign up for the free newsletter. I send practical routines, time-saving tips for busy adults, and occasional printable practice ideas from The Hobby Artist.
-
Redraw something from your first sketchbook. The comparison will surprise you.
-
Try a new tool this week. A brush pen, a piece of charcoal, a different pencil weight. See what marks it wants to make.
This is a great post to bookmark and come back to when your practice feels stale. The world does not need you to create a masterpiece this week. It just needs you to fill a page.
FAQ
How long does it take to get noticeably better at drawing?
With regular short sessions, most adults see a visible difference in two or three months, especially when focusing on one skill at a time. Daily practice leads to noticeable improvement in drawing. The change is clearest looking back across a year, which is why dating your pages and keeping old sketchbooks matters. For a fuller timeline, see how long it takes to learn to draw.
Is it better to draw every day or a few times a week?
Whichever you will actually keep doing. Short, frequent sessions work well because skills settle between them, but five focused sessions a week beat seven unfocused ones. Practice regularly, even if some days are only fifteen minutes. Carry a sketchbook so you can sketch when a spare moment appears.
Do I need a teacher to improve?
No, but you need some form of feedback. A teacher, a sketching group, online classes, or even a mirror and a careful comparison with the real object all count. Many artists improve faster with structured feedback, but self-review through flipping your drawing or photographing it works too.
Why do my drawings look worse the better I get?
Your eye improves faster than your hand, so you notice flaws you could not see before. It is uncomfortable but it is a sign of progress. Keep pushing through. Better drawings come from the same place that frustration comes from: sharper observation skills meeting a hand that has not caught up yet.